
Millefeuille Recipe
I absolutely adore this millefeuille recipe because it combines the rich creaminess of homemade vanilla pastry cream with the satisfying crunch of perfectly baked puff pastry, creating a truly indulgent dessert experience. Plus, there’s something incredibly rewarding about making each layer from scratch, making every bite feel like a small triumph in my culinary adventures.
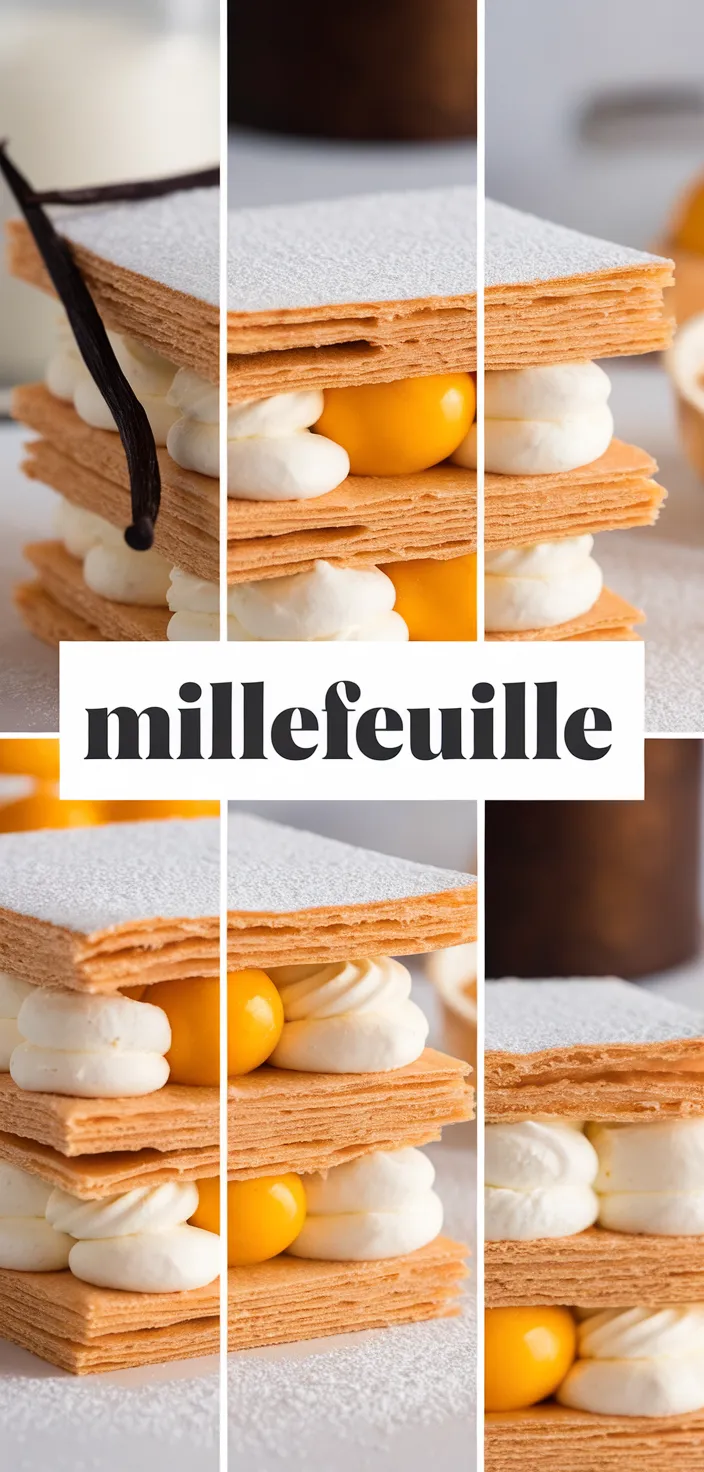
Millefeuille is a classic French dessert that I adore for its fragile layers of crisp puff pastry and delicious vanilla cream. To make this dessert, you begin by making puff pastry.
Then you prepare a silky, custardy cream. The cream contains 250 ml of whole milk steeped with a vanilla bean; 3 egg yolks; 75 g of sugar; and 25 g of cornstarch.
Enrich the mixture with 25 g of unsalted butter. Lighten it with 200 ml of whipped heavy cream.
Finally, give it a dusting of powdered sugar.
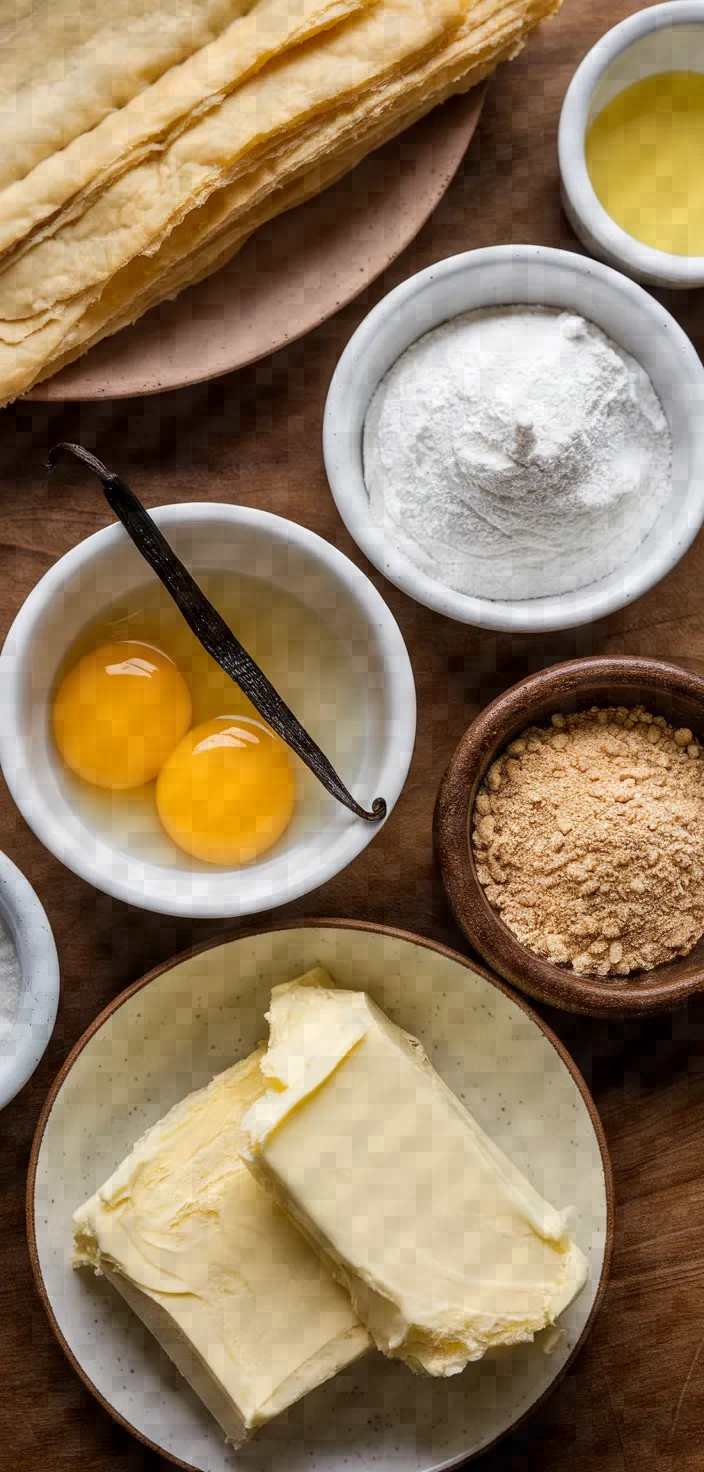
Ingredients
Puff Pastry:
The dessert has a flaky texture, abundant in carbohydrates.
Whole Milk:
Delivers creaminess and offers calcium and protein.
Vanilla Bean:
Imparts an aromatic and natural sweetness that boosts flavor.
Egg Yolks:
Provide protein and richness, vital for custard.
Granulated Sugar:
The cream is perfectly balanced with flavors and sweetness.
Heavy Cream:
A wonderfully soft and creamy cheese of high fat content.
Ingredient Quantities
- 500g puff pastry
- 250ml whole milk
- 1 vanilla bean, split and scraped
- 3 egg yolks
- 75g granulated sugar
- 25g cornstarch
- 25g unsalted butter
- 200ml heavy cream, whipped
- Powdered sugar, for dusting
Instructions
1. Your oven should be at 200°C (390°F). On a surface lightly dusted with flour, roll out the puff pastry and cut it into three equal pieces. Each piece should be a rectangle about a hand’s width long and half a hand’s width wide. Lay the pieces on a parchment-lined baking sheet and put them in the oven.
2. Puff pastry rectangles must be pierced with a fork all over. This is a very important step, and if it is not done, the pastry will puff up unevenly, with some parts rising way more than other parts, and could also result in some pastry being underbaked. And who wants that? When the puff pastry is fully baked and comes out of the oven nice and golden brown and crisp all over, then you have done everything right.
3. Prepare the pastry cream while the pastry bakes. In a saucepan over medium heat, combine the milk and the vanilla bean (with its seeds). Slowly bring to a simmer, then take it off the heat. Let it sit and infuse for about 10 minutes. Remove the vanilla bean.
4. In a bowl, mix together the yolks of eggs and sugar until the blend is light and thick. Combine with cornstarch, and blend until smooth.
5. Slowly add the hot milk that has been infused with the desired flavor to the eggs while whisking to ensure that they don’t curdle. Once well combined, pour the mixture back into the saucepan and return it to the burner.
6. Stir over low heat until the pastry cream thickens and just starts to bubble. Remove from heat and stir in the unsalted butter. The butter should melt and blend in until the pastry cream is smooth. Transfer this to a bowl, cover it with plastic wrap touching the surface, and allow it to cool completely before using.
7. When the pastry cream is cooled, fold in gently the whipped cream, which makes the light and smooth filling in the éclairs.
8. Build the millefeuille: Put a layer of pastry in the serving dish. Smooth half the cream over the first layer evenly; smooth half the cream over the second layer. Put the final layer on top, and finish with the remaining cream.
9. Using a sieve, dust the surface with powdered sugar to create a decorative finish.
10. Refrigerate for at least one hour so that the dessert sets completely. This step is necessary, though, since the custard takes its time to firm up, but it’s not crucial that you stay near the kitchen while the dessert is chilling; you have at least one hour to do something else. When you return, slice and serve the treat, then enjoy the texture contrast between the ultra-smooth filling and the crunchy, crackly topping.
Equipment Needed
1. Oven
2. Rolling pin
3. Knife
4. Parchment paper
5. Baking sheet
6. Fork
7. Saucepan
8. Mixing bowls
9. Whisk
10. Spoon or spatula
11. Plastic wrap
12. Sieve or sifter for powdered sugar
FAQ
- Q: What is Millefeuille?Millefeuille, also called a Napoleon, is a classic French dessert made of cream and layered puff pastry. The two words mean a thousand sheets in French. The preparation is certainly an exercise in patience, but the dessert is one that pays off in taste.
- Q: Can I use store-bought puff pastry?Absolutely! Using high-quality store-bought puff pastry is a great time-saver and works well for Millefeuille.
- Q: How should I ensure the puff pastry remains crisp?A: Ensure that you bake the puff pastry layers individually, until they are golden and crispy. Allow them to cool completely before you add the filling.
- Q: What is the purpose of cornstarch in this recipe?A: Pastry cream is thickened with cornstarch. Like flour, cornstarch serves as a thickener. When it is heated with the milk and eggs, it makes the pudding smooth and creamy, and it holds its shape and does not run when you assemble the desserts.
- Q: How long can Millefeuille be stored?A: The best way to enjoy millefeuille is fresh, but it is safe to store it in the refrigerator for up to 2 days. The puff pastry may soften slightly, but the dessert will be as safe to eat as it was the first day of its creation.
- Q: Can the pastry cream be made in advance?A: Yes, you can make the pastry cream up to 2 days in advance. Keep it in the fridge, and before using, give it a good stir to reconstitute it.
- Q: Is there a substitute for the vanilla bean?A: If a vanilla bean isn’t available, 1 teaspoon of pure vanilla extract or vanilla bean paste can be used as a substitute.
Substitutions and Variations
If you don’t have puff pastry, use 500g of phyllo dough instead. (Your end result will have a different texture.)
For almond, soy, or another milk from nuts, 250ml of either will do.
Use 1 teaspoon of vanilla extract instead of a vanilla bean.
Use 75g of coconut sugar in place of granulated sugar to give a different flavor profile.
You can substitute 25g of margarine or vegan butter for unsalted butter in a recipe.
Pro Tips
1. Chill the Pastry Before rolling out the puff pastry, ensure it’s well-chilled. This helps maintain its structure when baking and results in a flakier texture.
2. Use an Offset Spatula When spreading the pastry cream between the layers, use an offset spatula for a smooth and even distribution, which will help achieve a clean and professional look.
3. Infusion Time Let the vanilla bean infuse in the milk for a slightly longer time if you prefer a more pronounced vanilla flavor. You can even do this step in advance for a stronger infusion.
4. Ensure Even Baking Rotate the baking sheet halfway through the baking time. This ensures even browning and puffing, especially if your oven has hot spots.
5. Extra Crunch For an extra crisp layer, sprinkle a little sugar on top of the final pastry layer before baking. The sugar will caramelize and give a delightful crunch.

Millefeuille Recipe
My favorite Millefeuille Recipe
Equipment Needed:
1. Oven
2. Rolling pin
3. Knife
4. Parchment paper
5. Baking sheet
6. Fork
7. Saucepan
8. Mixing bowls
9. Whisk
10. Spoon or spatula
11. Plastic wrap
12. Sieve or sifter for powdered sugar
Ingredients:
- 500g puff pastry
- 250ml whole milk
- 1 vanilla bean, split and scraped
- 3 egg yolks
- 75g granulated sugar
- 25g cornstarch
- 25g unsalted butter
- 200ml heavy cream, whipped
- Powdered sugar, for dusting
Instructions:
1. Your oven should be at 200°C (390°F). On a surface lightly dusted with flour, roll out the puff pastry and cut it into three equal pieces. Each piece should be a rectangle about a hand’s width long and half a hand’s width wide. Lay the pieces on a parchment-lined baking sheet and put them in the oven.
2. Puff pastry rectangles must be pierced with a fork all over. This is a very important step, and if it is not done, the pastry will puff up unevenly, with some parts rising way more than other parts, and could also result in some pastry being underbaked. And who wants that? When the puff pastry is fully baked and comes out of the oven nice and golden brown and crisp all over, then you have done everything right.
3. Prepare the pastry cream while the pastry bakes. In a saucepan over medium heat, combine the milk and the vanilla bean (with its seeds). Slowly bring to a simmer, then take it off the heat. Let it sit and infuse for about 10 minutes. Remove the vanilla bean.
4. In a bowl, mix together the yolks of eggs and sugar until the blend is light and thick. Combine with cornstarch, and blend until smooth.
5. Slowly add the hot milk that has been infused with the desired flavor to the eggs while whisking to ensure that they don’t curdle. Once well combined, pour the mixture back into the saucepan and return it to the burner.
6. Stir over low heat until the pastry cream thickens and just starts to bubble. Remove from heat and stir in the unsalted butter. The butter should melt and blend in until the pastry cream is smooth. Transfer this to a bowl, cover it with plastic wrap touching the surface, and allow it to cool completely before using.
7. When the pastry cream is cooled, fold in gently the whipped cream, which makes the light and smooth filling in the éclairs.
8. Build the millefeuille: Put a layer of pastry in the serving dish. Smooth half the cream over the first layer evenly; smooth half the cream over the second layer. Put the final layer on top, and finish with the remaining cream.
9. Using a sieve, dust the surface with powdered sugar to create a decorative finish.
10. Refrigerate for at least one hour so that the dessert sets completely. This step is necessary, though, since the custard takes its time to firm up, but it’s not crucial that you stay near the kitchen while the dessert is chilling; you have at least one hour to do something else. When you return, slice and serve the treat, then enjoy the texture contrast between the ultra-smooth filling and the crunchy, crackly topping.